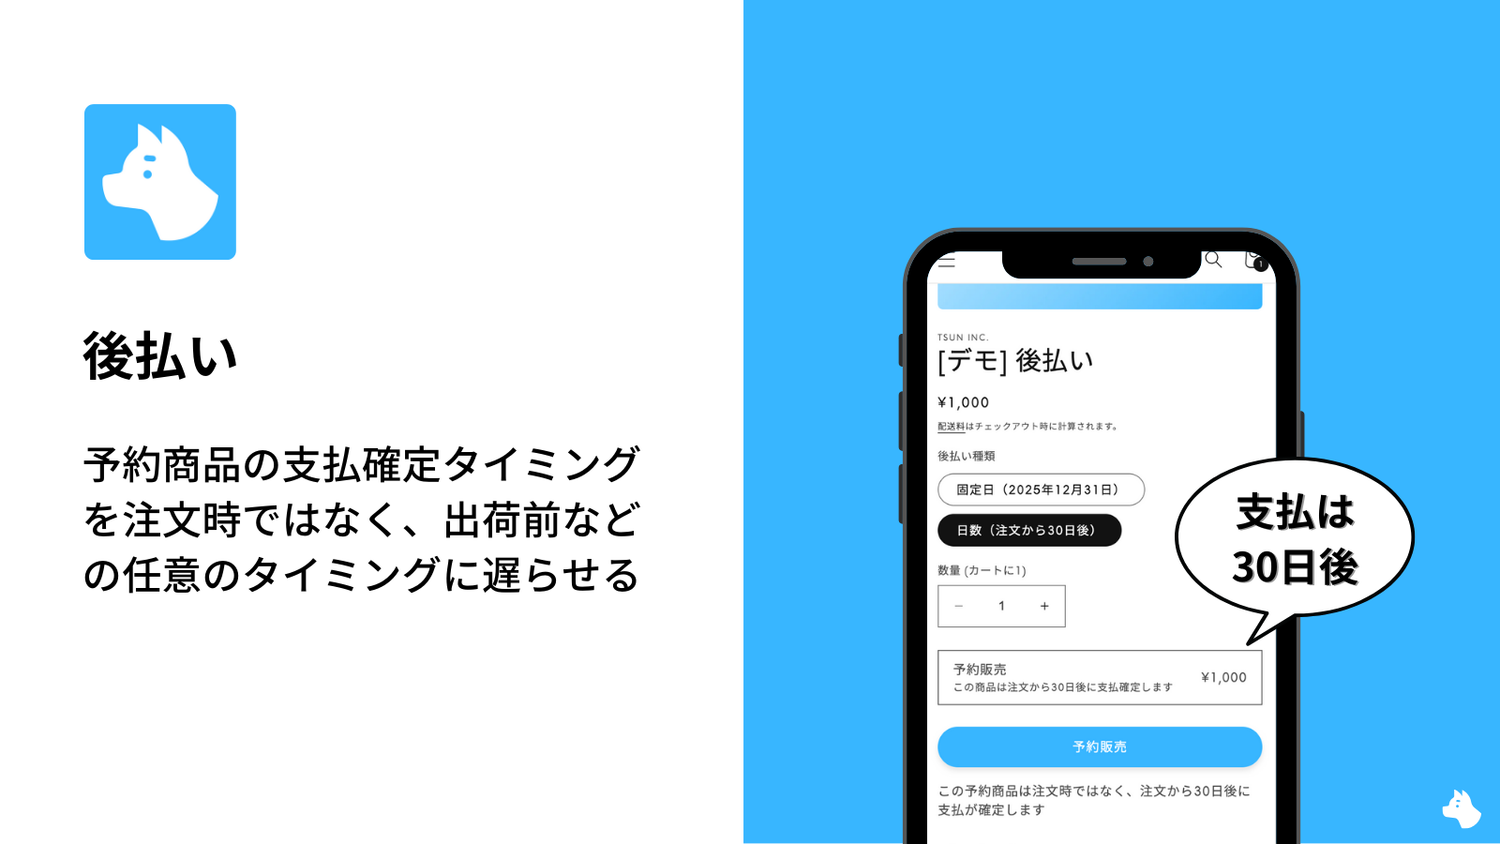
By using RuffRuff Pre Order, when offering pre-order products on Shopify, you can implement "pre-order with deferred payment," where customers don't pay the full amount before the product arrives, but instead have their payment finalized at shipping or another specified time. This feature, ideal for products with long lead times or advance pre-order sales, can be easily implemented using the RuffRuff Pre Order app. This article walks you through everything step by step, from app installation and setup to actual operation.
How to sell pre-order products with deferred payment
By completing the settings in this chapter, you can delay the timing of payment finalization for pre-order products, from the time of order to any time you choose, such as before shipping. This is useful for pre-order products with a long lead time between order and shipment.
The page below is a demo product that actually uses RuffRuff Pre Order to run a pre-order with deferred payment. Please try it out for yourself.

Preparation: Enable the app embed
* If you have already completed the preparation for RuffRuff Pre Order, skip this preparation step and go to Step 1.

(1) Install RuffRuff Pre Order from the Shopify App Store
You can find "RuffRuff Pre Order" by searching for "ruffruff" in the Shopify App Store.

(2) Open the app and select "Plans" from the left-hand menu
(3) Review the Terms of Service and check "I agree to the Terms of Service"
(4) Click "Change Plan" for the plan you want to subscribe to

(5) Review the plan details and click "Approve"

(6) From the Shopify admin, go to Online Store > Themes
(7) Click "Customize" on the Shopify theme where you want to add the app

(8) Select "App embeds" on the left side of the screen
(9) Enable the app embed named "RuffRuff Pre Order"
(10) Click "Save"
Step 1: Create a pre-order rule

(1) Click "Pre-order rules" in the left-hand menu
(2) Click "Create rule" from the Pre-order rules page

(3) Select "Pre order with purchase options" from the pop-up that appears

(4) Enter any name for the Rule name
(5) Configure the following in Conditions
- Inventory condition: leave blank
- Start date/time: a date in the past
- Frequency: Daily
ℹ️ With these conditions, the rule will always be set to run as a pre-order.

(6) Configure the following in Actions (Pre-order)
- Cart button text: Pre-order
- Product message: optional
- Order tag: optional
ℹ️ Actions (Pre-order) lets you configure how the product behaves during the pre-order. Setting things like an approximate deferred payment period in the order tag makes orders easier to manage.

(7) Configure deferred payment in Purchase options
- Enable purchase options: check the box
- Pre-order plan name: enter any name
- Pre-order plan description: enter any description
- Balance due date: set the expected payment collection date
- Checkout amount (Deposit): 0%
ℹ️ The due date is only an estimate. To give customers a rough idea of when payment will be finalized, set as clear a date as possible.

(8) Set up checkout validation
- Enable checkout validation: check the box
- Out of conditions limit alert message: any message
ℹ️ With this setting, if a product ends up in the cart without pre-order status by mistake, an alert message is displayed on the checkout page to prevent the purchase.
(9) Click "Save"
Step 2: Apply the pre-order rule to the target products

(1) Click "Products" in the left-hand menu
(2) Check the products you want to apply the pre-order rule to
(3) Click "Apply rule"

(4) Select the rule created in Step 1
(5) Click "Apply rule"
That completes the setup.
What happens when you set up deferred payment?
What happens to the product?

On the product page, the pre-order plan name and description set in purchase options are displayed above the cart button.
What happens when purchasing?
When a pre-order product with deferred payment is added to the cart, the checkout page will look like this.

① Since payment is not finalized at the time of order, the total due (today) is displayed as ¥0. Below that, the balance due date and total amount are displayed.

② Only Shopify Payments is available as the payment method.
③ The purchase option's policy information is displayed.
How do you collect payment for deferred payment orders?
How to collect payment for one order at a time
(1) Access the relevant order from order management

(2) Click "Collect payment"
(3) Click "Charge $XX"
![Click "Charge amount: ¥[amount]" in the dialog that appears](https://cdn.shopify.com/s/files/1/0660/8358/6101/files/TsunShot_2025-04-08_at_17.03.14_2x_84e70d19-cdea-4a31-8a6d-2e83a4ed3b34.png?v=1744101265)
(4) Click "Charge amount: ¥[amount]" in the dialog that appears
How to bulk charge deferred payments

(1) From Shopify's order management, select the orders you want to bulk charge
(2) Click "⋯" (the ellipsis)
(3) Click "Charge deferred payments"

(4) You'll be taken to the app's Charge deferred payments page — click "Charge"
(5) A confirmation dialog will appear — click "Charge"
Conclusion
This article provided a detailed explanation of how to set up pre-order sales with deferred payment on Shopify. By implementing this system, you can offer customers flexible payment options and manage your pre-order business more efficiently. In particular, using the RuffRuff Pre Order app makes it easy to handle everything from setup to operation.
Introducing pre-order with deferred payment is a major step that contributes not only to an improved customer experience but also to the growth of your business. Use this article as a reference and try applying it to your own store! For more detailed information and specific use cases, please also check out RuffRuff's Help Center.