This article briefly explains the basic setup steps and how to verify operation for the "Countdown Timer" feature of RuffRuff Pre Order, following the actual steps.
This is intended for Online Store 2.0 compatible themes and assumes installation on the product page. The content covers only operations in the theme editor (adding sections or app blocks, adjusting placement) and configuring display conditions, and does not cover external features or unconfirmed specifications.
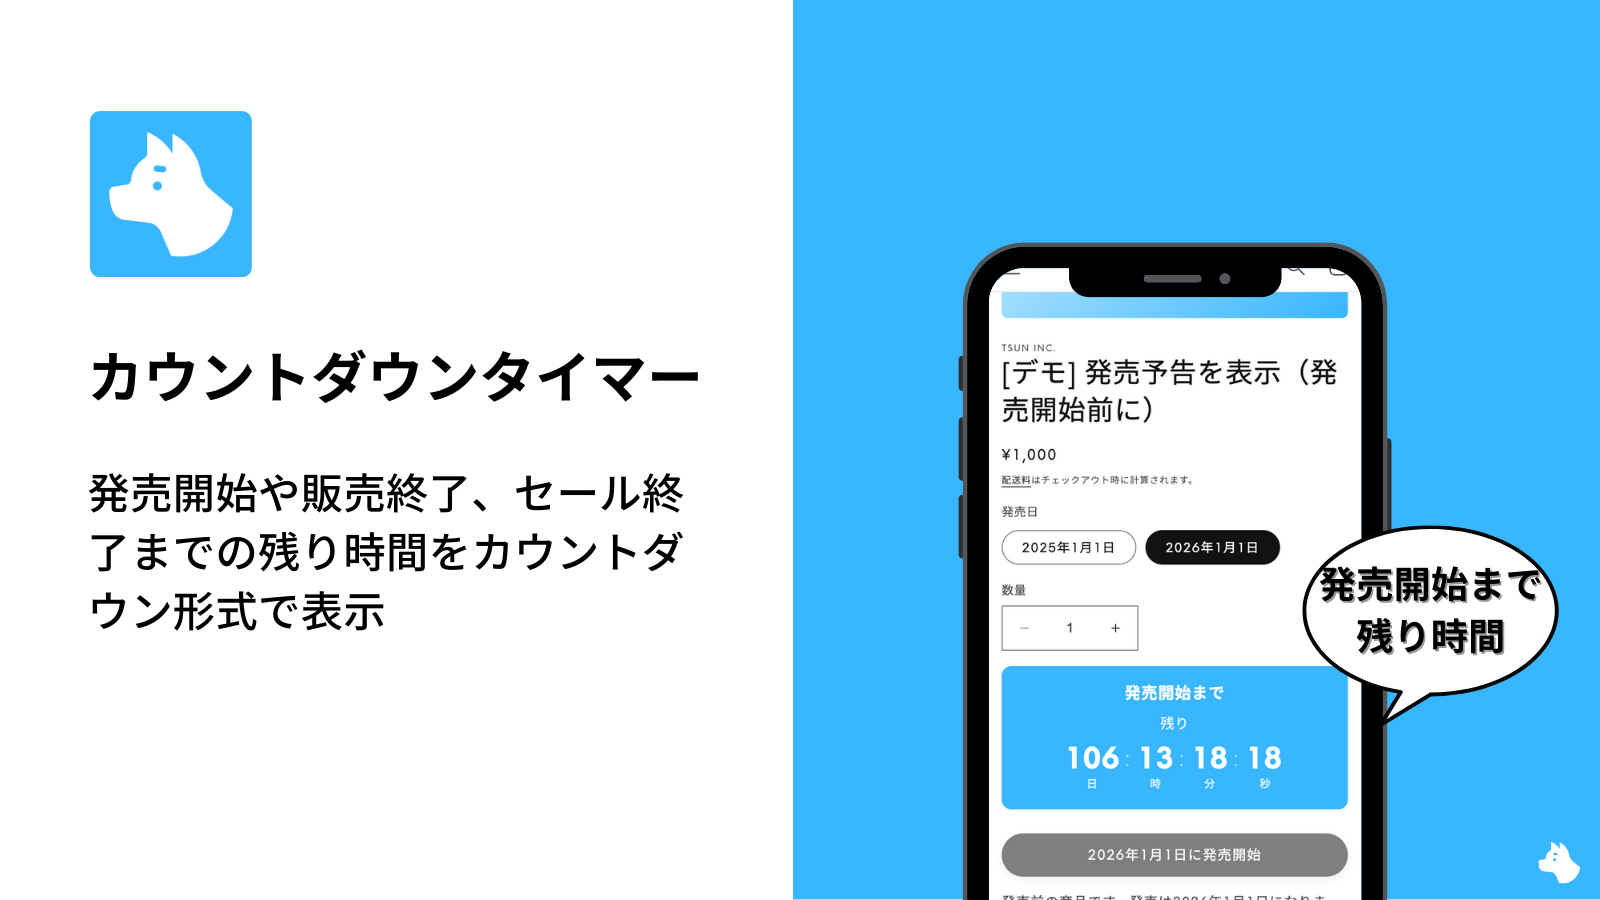
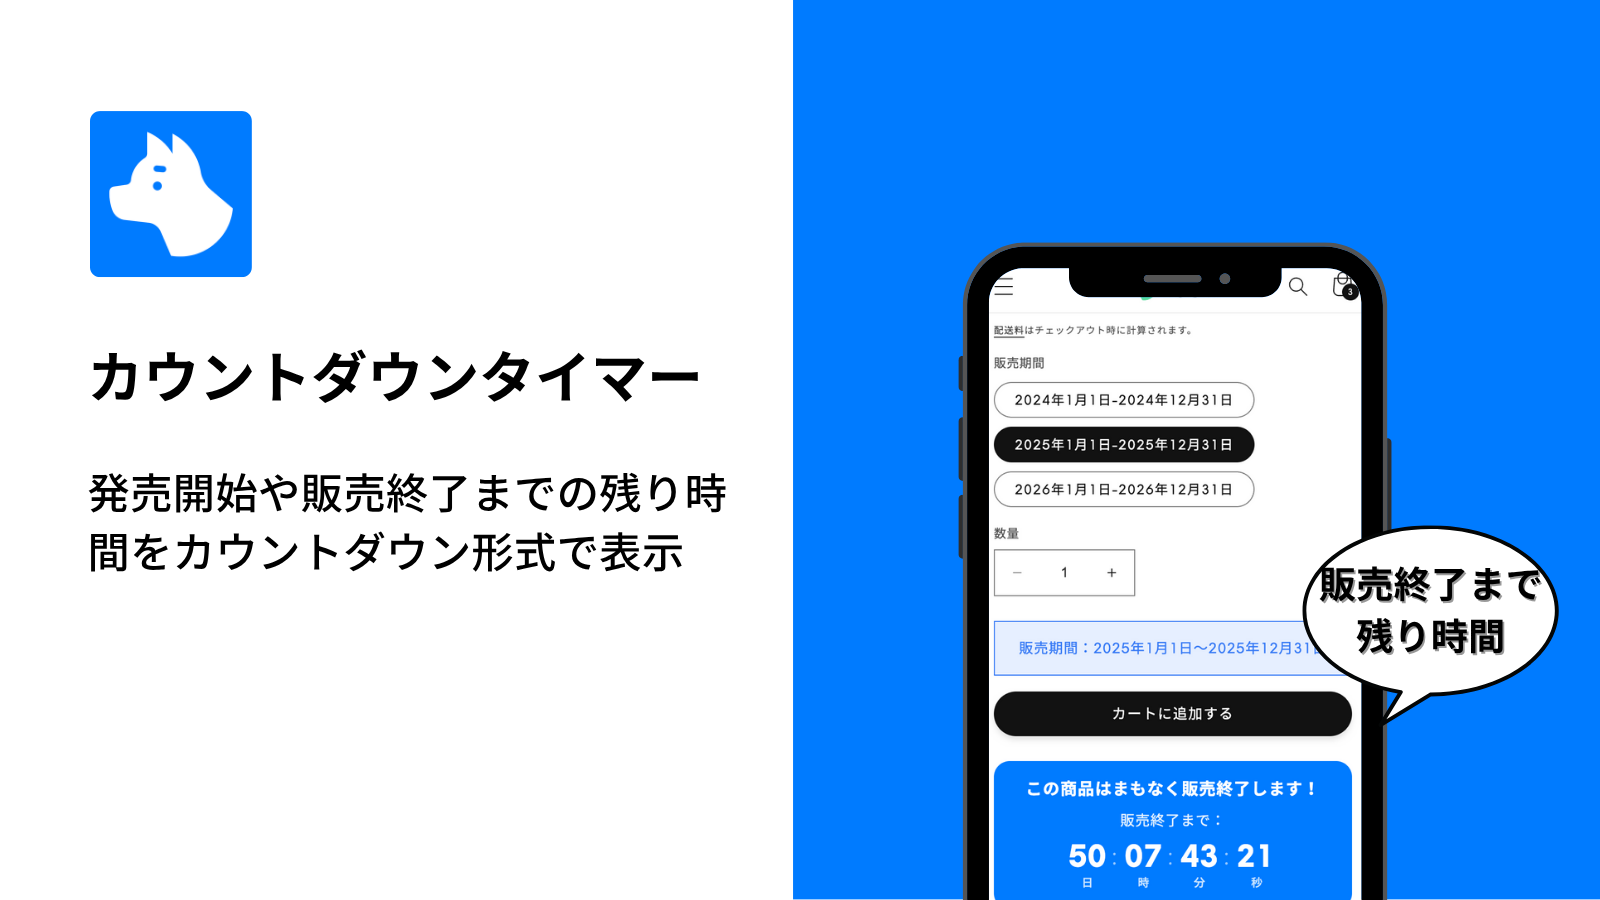
About the Countdown Timer Feature
What You Can Do
- Show customers the time remaining until release
- Show customers the time remaining until sales end
- Show customers the time remaining until a sale starts
- Show customers the time remaining until a sale ends
- Each text field can be translated
- Control whether it is displayed per pre-order rule
- Change the text per pre-order rule
- Customize color, font size, and more
- Display the countdown timer regardless of traffic volume
Specifications
- Only supported on Online Store 2.0 compatible themes
- Can only be displayed on the product page
- Only supported for the "Pre-order" actions tab or the "Before start date" actions tab
- When displayed under the "Pre-order" actions tab, it shows the time remaining until "Conditions > End date / End time"
- When displayed under the "Before start date" actions tab, it shows the time remaining until "Conditions > Start date / Start time"
Demo
The page below is a demo product for the countdown timer feature. Please check the actual behavior.

How to Display the Countdown Timer
Step 1: Add the App Block

(1) Go to Online Store > Themes
(2) Click "Customize" on the theme where you want to display the countdown timer

(3) Open the product template from the theme editor
(4) Click "Add section" (or "Add block")
(5) Select the "Apps" tab
(6) Add the app block named "Countdown Timer"

(7) Drag and drop the added app block to where you want to display the countdown timer
(8) Click the app block
(9) Enable "Show demo in theme editor"
This setting allows the countdown timer to be displayed in the theme editor only, regardless of conditions.
(10) Customize the countdown timer's design and text
(11) Click "Save"
Step 2: Configure Display Settings in the Pre-order Rule

(1) Open the pre-order rule where you want to display the countdown timer
(2) Open the "Pre-order" actions tab or the "Before start date" actions tab
(3) Check "Show countdown timer"
(4) Set any text for the countdown timer title
(5) Set any text for the countdown timer description
(6) Click "Save"
Step 3: Verify Operation

(1) Access a product to which the pre-order rule configured in Step 2 has been applied
(2) Check whether the countdown timer is displayed
That completes the setup.
In Closing
This guide focused on the basic steps for correctly displaying and verifying the "Countdown Timer" feature of RuffRuff Pre Order on the product page.
Before going live, verify the behavior on the product page using a test product, and fine-tune the text and placement as needed.