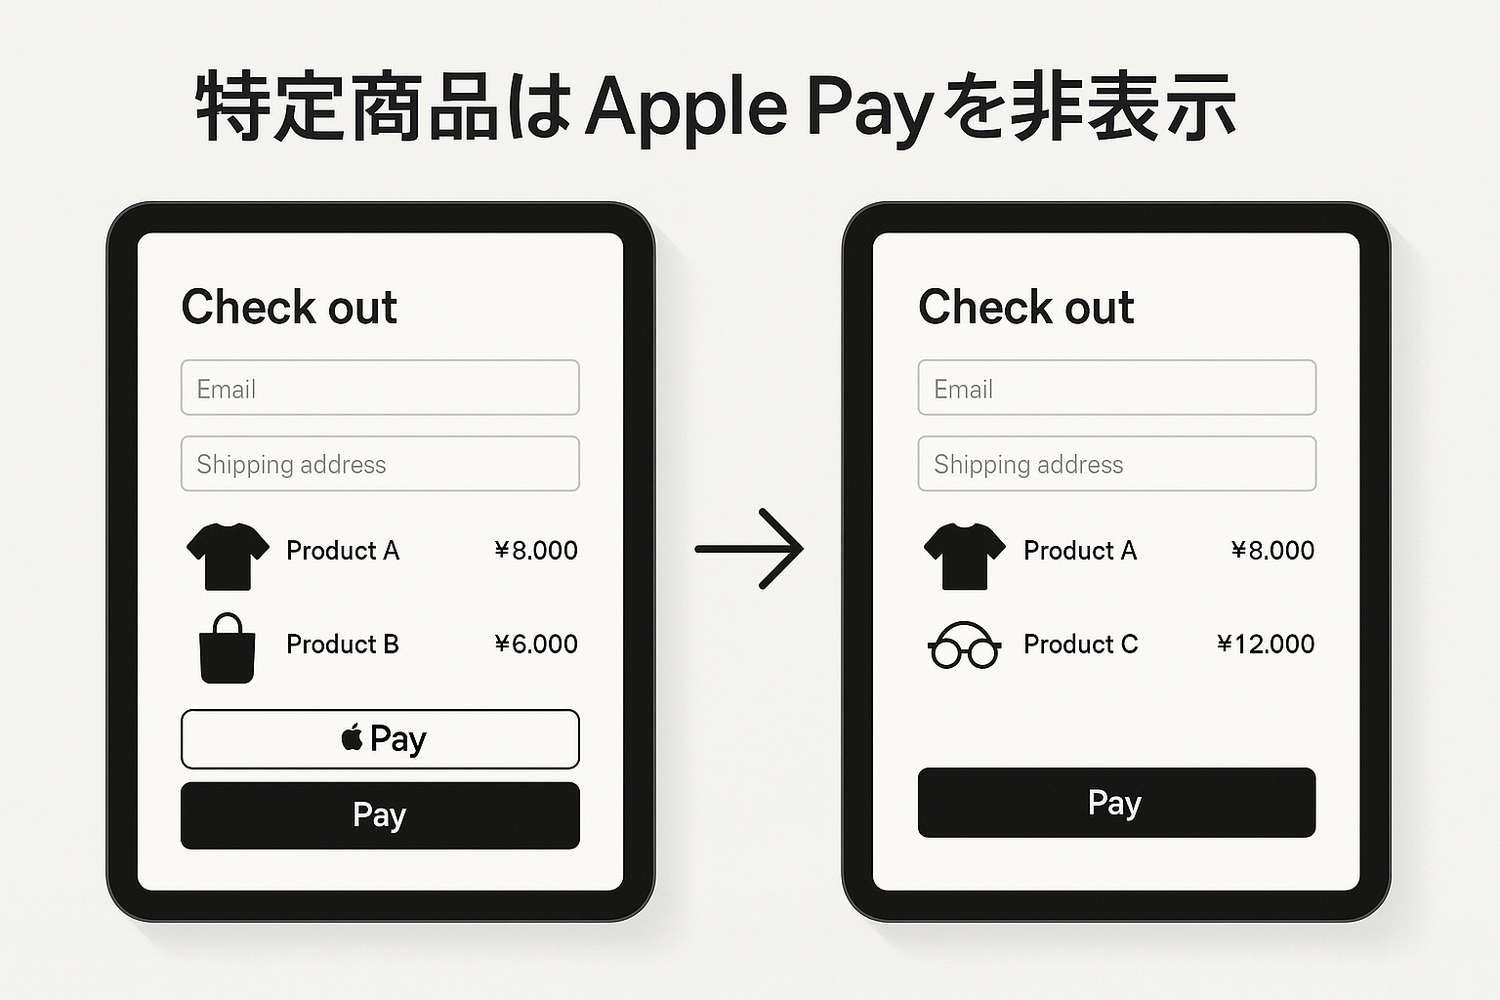
Apple Pay is a payment method adopted by many EC sites for its convenience and strong security. This article explains the benefits of adding Apple Pay to Shopify and the basic setup steps, and also addresses the need to control the display of Apple Pay under specific conditions by explaining the concrete steps for using the "RuffRuff Order Limits" app to hide Apple Pay when specific products are included in the cart.
What Is Apple Pay
Apple Pay is a mobile payment service provided by Apple Inc. Customers can purchase products safely and easily using the credit card and shipping information registered to their Apple account.
Benefits of Adding Apple Pay
- Helps prevent cart abandonment
- Easy to set up
- Low cost
The blog article below explains the benefits of Apple Pay in more detail, along with the drawbacks and how to set it up. If you'd like to learn more about Apple Pay, please refer to it.
How to Set Up Apple Pay

(1) From the Shopify admin, go to Settings > Payments > Manage

(2) Click "Manage payment methods"

(3) Enable Apple Pay
How to Hide Apple Pay Under Specific Conditions
In this section, we'll introduce how to use RuffRuff Order Limits to hide Apple Pay when specific products are included in the cart.
Step 1: Install the App

First, install RuffRuff Order Limits, introduced above, from the Shopify App Store.
You can find "RuffRuff Order Limits" by searching "ruffruff" in the Shopify App Store. Once you're on the RuffRuff Order Limits app page, click "Install".
Step 2: Select a Plan
The payment rule used in this article is available on the Light plan or higher. Choose Light or Full based on your billing period and whether you also need cumulative quantity rules. Annual billing saves the equivalent of two months. See the pricing plans for details.

(1)Select "Pricing plans" in the app
(2)Click "Change plan" for the plan you want to subscribe to

(3)Review the plan details and click "Approve"
Step 3: Create a Payment Rule
Once you've upgraded your plan, set up a payment rule. Use a payment rule to configure "hide Apple Pay for specific products".

(1)Select "Payment rules" in the app
(2)Click "Create rule"

(3) Enter any rule name in the title
(4) In the payment methods section, select "Apple Pay"
(5) In the products section, select "Specific products"
(6) Use "Search products" to add the products for which you want to hide Apple Pay
(7) Click "Save"
Step 4: Enable the Embedded App
Enable the embedded app on your Shopify theme. This makes it possible to control the quantity picker, display product messages, and more.

(1) From the Shopify admin, go to Online Store > Themes
(2) Click "Customize" for the theme you want to add the app to

(3) Select "App embeds" on the left of the screen
(4) Enable the app embed named "RuffRuff Order Limits"
(5) Click "Save"
Step 5: Verify It Works
(1) Add a product that is NOT configured in the payment rule (i.e. not a target for hiding) to the cart
(2) Go to the checkout page and confirm that Apple Pay is NOT hidden
(3) Add a product that IS configured in the payment rule (i.e. a target for hiding) to the cart
(4) Go to the checkout page and confirm that Apple Pay IS hidden
In Conclusion
In this article, we explained the benefits of adding Apple Pay to your Shopify store and how to set it up, as well as the steps for using the "RuffRuff Order Limits" app to hide Apple Pay for specific products.
Apple Pay is a convenient payment method for many customers, but depending on your business characteristics or strategy, there may be cases where you want to control its display for specific products or conditions. Using the method introduced here, you can go beyond a one-size-fits-all setup and offer more flexible payment options that respond to a wide variety of customer needs.
Please use this information as a reference, tailored to your own store's situation, to help build the optimal payment environment.